WWDC 2014 Student App
It’s that time of the year again! Excitement about new devices, leaks, and thousands and thousands of recent blog posts are reviewing the releases. This year it will be all about the new MacBooks and how quickly it is catching up!
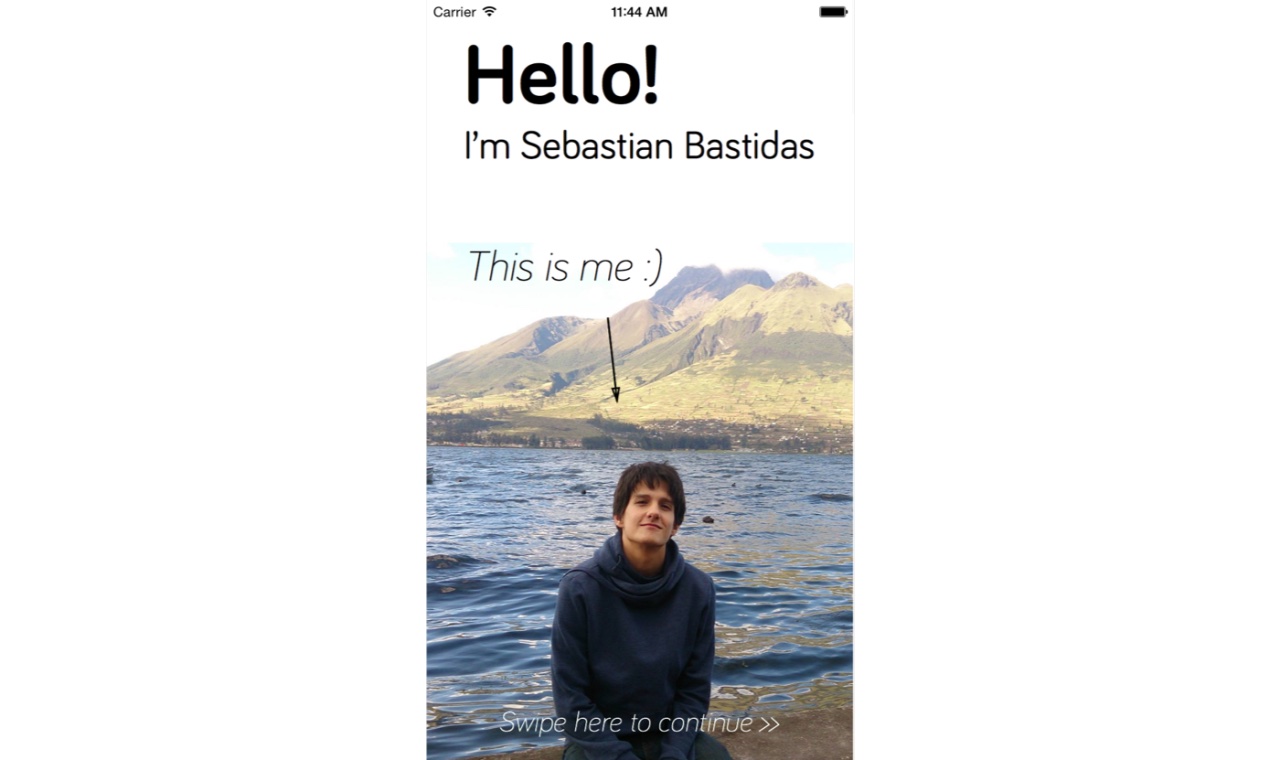
I applied for the student scholarship for the WWDC. If you win, you get tickets to the event (Which are not easy to get even if you are willing to pay for one). And flight and hotel expenses. It reads: “Use your creativity and coding skills to build and submit an app that tells us about you.” And it has to have, at least, something written in swift. Here’s what I came up with:
The goal was to make an interactive app that presented my life in a fun way. The first goal was to create a page-based app where swiping left or suitable switches screens animatedly. A simple way to do this was using a PageView and switching between ViewControllers. But this made all the screens receive touch events, but I only wanted some areas to add interactivity to others. For this, I created the base class SwipeViewController.h
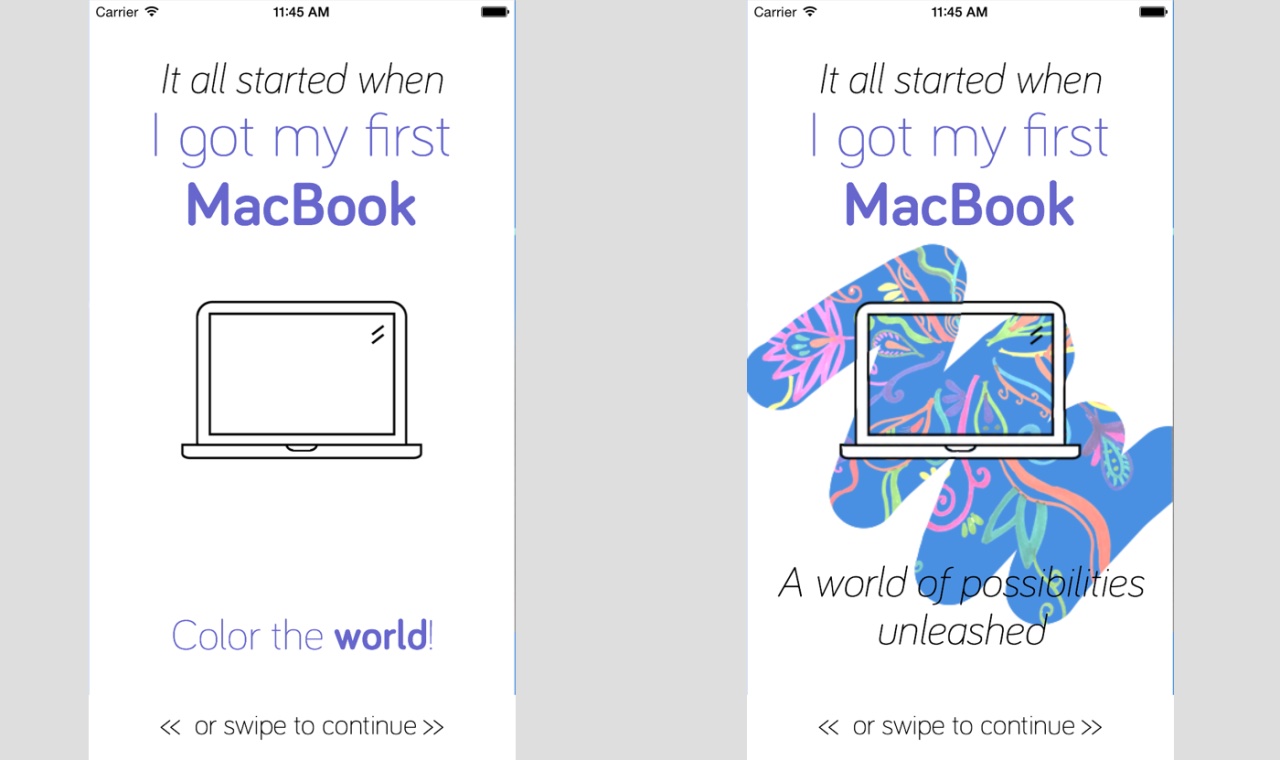
Color the World!
The first interactive element is a page that allows the user to paint the world of colors on top of a white MacBook. In my opinion, the best way to do a coloring effect is to cover the colored image with a white foreground that the user erases. First, I made the white template that contains the MacBook. Then, I had to get the drawing for the colored part (Big thanks to Rafaela Bastidas for helping me on this one!). To achieve the effect, I made a paint-like app where the user “Colors” by painting the white image with clearColor.
For this, I made an EraseView that contains both images and the pen width. I based this on a Ray Wenderlich tutorial that can be found here and a stack overflow post. http://stackoverflow.com/questions/10032576/erase-and-un-erase-a-image-in-uiimageview-with-touch-using-coregraphics. The EraseViewController initializes the images and contains the labels for the output.
Draw a Ruby!
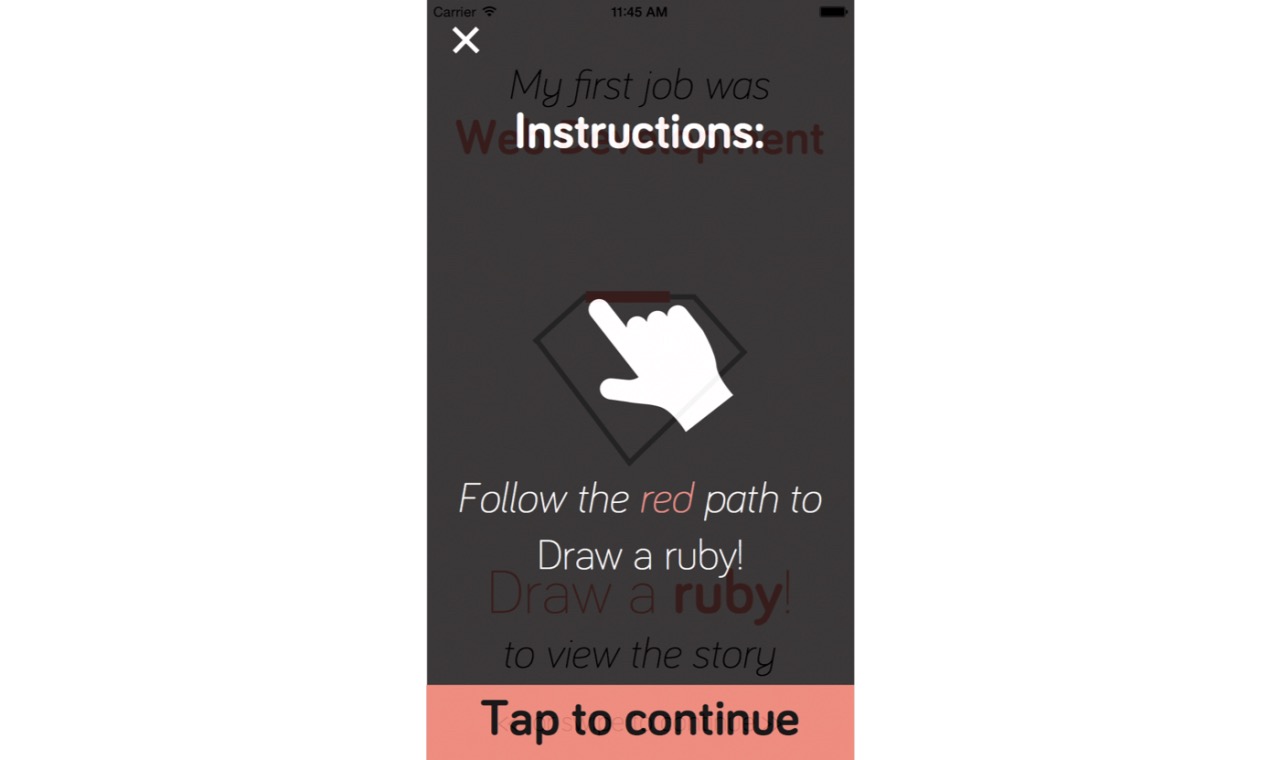
I wanted the user to interact with the app, so for web development, I made a screen where you have to draw a ruby to pass to the Information. This one was a bit more complicated than the last one, mainly because it involved many things. The first one is drawing Ruby onscreen. The DrawViewController class achieves this. I didn’t want to draw everything with bezier paths, so I used PocketSVG to convert SVGs to paths. Then I animated the StrokeEnd
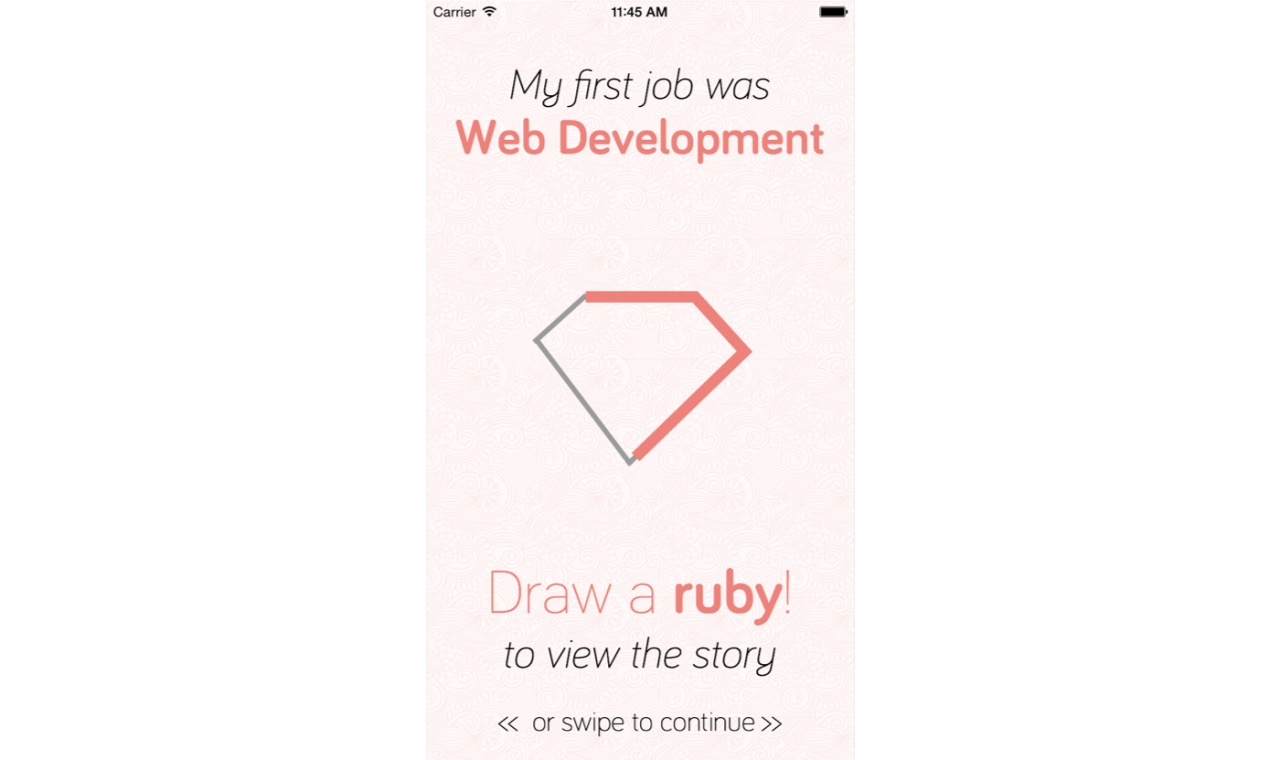
This one was fun. I used a gesture detector called WTMGlyph. This one had to be added and correctly modified to recognize the ruby paths. This output lets you (or not) into the next screen.
Shake the Tree!
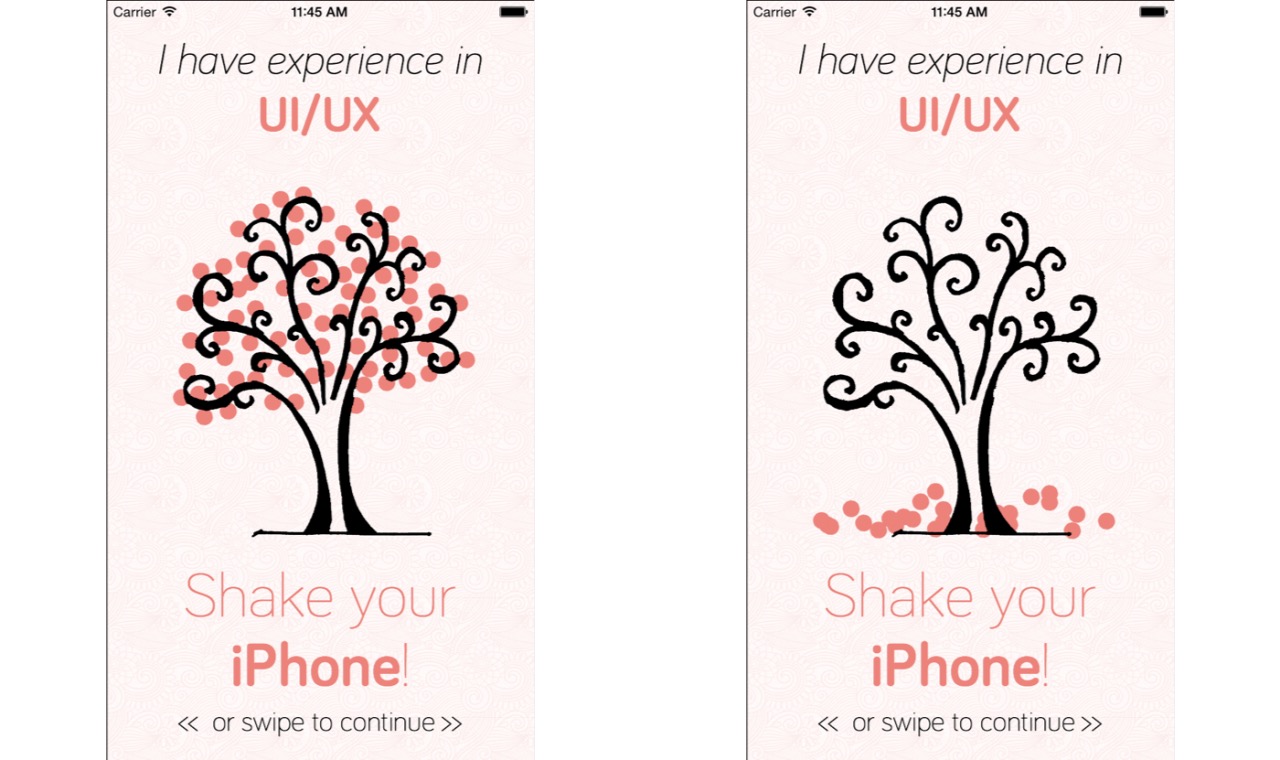
This one is my favorite! I took a picture of a tree my sister drew and vectorized it with photoshop. I completely removed the leaves, which I illustrated with red, circular leaves. And yes, I could have made the lines smoother, but I would have needed more time.
Shaking the iPhone makes the leaves fall off animatedly. Each one has a different speed and acceleration for a more remarkable effect. This is called the LeavesViewController
Enjoy a tune
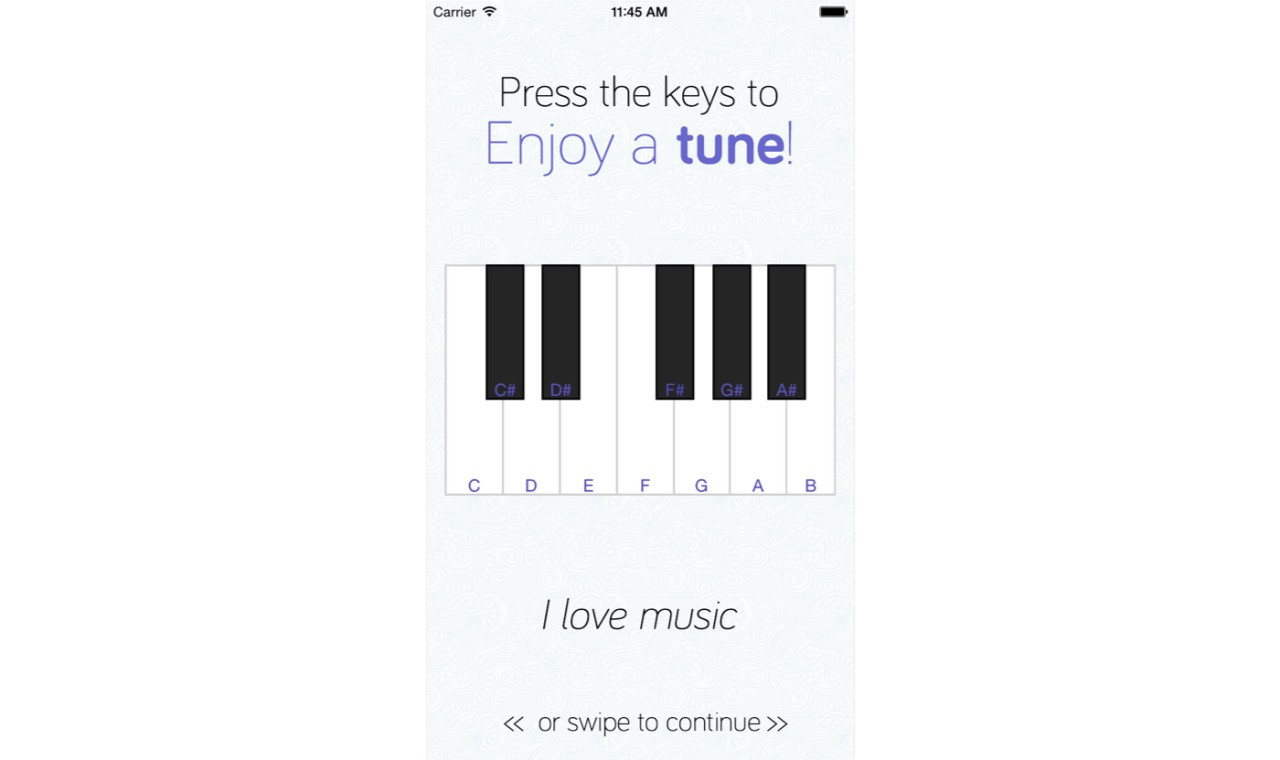
Finally, there is a music screen. It has a playable piano made in swift. This one was very easy. I downloaded key sounds and played them when the user taps on each key.
And that is it! Check the complete project on GitHub or follow me on Twitter for more @sbastidasr.